Auto reply in email is one of the most important and crucial tool/feature which helps you in various ways, be it –
- Out of Office Reply
- Do Not Reply
- Out of Vacations
- Or Discontinuation of email address
This is will not only reach to email sender as soon as email will deliver to your inbox but will also make sure that correct information has reached to the person and complete automation can also be done.
With Microsoft 365 you can easily set up Auto Reply without much of hassle and long steps
Below are steps which you should follow –
- Log in to Outlook Web App. .
- Once you login select Outlook (or Mail).Or
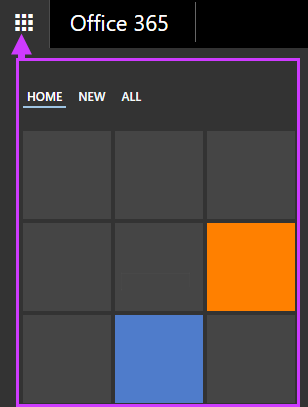
Choose App launcher
> Outlook.
- At the nav, select Settings
> Set automatic replies.if not
On the nav bar, select Settings
> Options > Automatic replies.
After that use the following details to set up automatic reply.
|
Setting |
Description |
| Don’t send automatic replies | Select this option to turn off automatic replies. |
| Send automatic replies | Select this option to turn on automatic replies. |
| Send replies only during this time period | Select this check box, and then set a start time and end time to control when automatic replies are sent. If you don’t set a time period, your automatic reply remains on until you turn it off. And you’re reminded you automatic replies are turned on each time you sign in to your mailbox. |
| Send a reply once to each sender inside my organization with the following message | Use the text box to create a message that is sent only to senders who are inside your organization. This option may not be available. |
| Send automatic reply messages to senders outside my organization | Select this check box if you want automatic replies to be sent to senders outside your organization.
If you select the check box to send automatic replies to persons outside your organization, two other options are made available. Choose one of the following:
|
| Send a reply once to each sender outside my organization with the following message | If you select Send replies to all external senders, in the text box type the reply message you want sent. |
If you still have any question or doubts then feel free to email us at [email protected] and if you liked what we write or helped you set up auto reply then share our article with your friends 🙂
 > Outlook.
 > Set automatic replies.if not


