


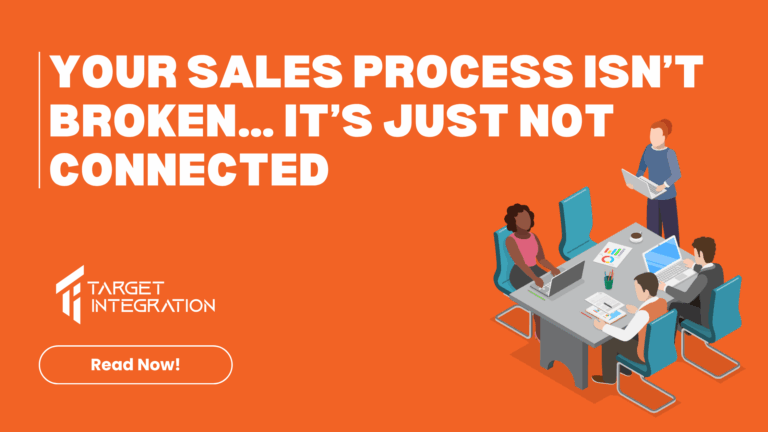
Sales teams today are under pressure to do more than ever. More leads.More follow-ups.More reporting.More forecasting. But despite having tools
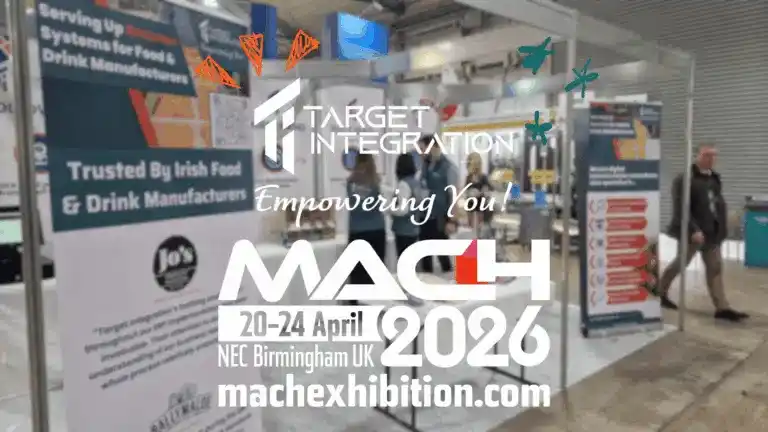
Target Integration (TI), digital adoption specialists with a strong focus on the manufacturing sector, will exhibit at MACH 2026 from
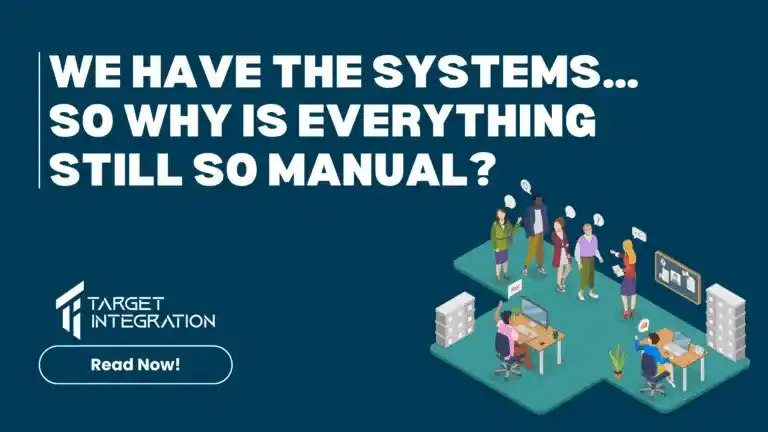
It’s a question we hear more often than you’d expect. Businesses invest in systems: ERP, CRM, finance tools, with the
